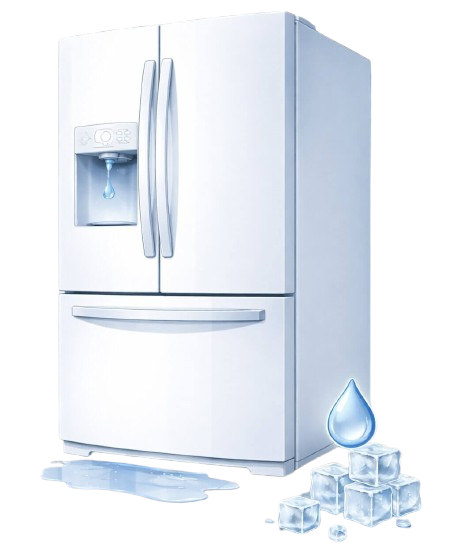
Modern refrigerators offer incredible technological conveniences for busy families. However, bringing a built-in chilled water dispenser and an automated ice maker into your kitchen introduces a highly complex network of pressurized plumbing and sensitive electronic valves directly into your living space. When these intricate systems fail, that modern convenience quickly turns into a highly stressful nightmare. Suddenly, you find yourself dealing with hollow shattered ice cubes, a completely dead water dispenser panel, or worst of all, a massive hidden puddle of water actively warping your expensive hardwood flooring.
Water and ice system failures are statistically the number one reason homeowners call for professional appliance repair services worldwide. It is incredibly common to assume that a lack of ice or a spreading puddle of water means the entire refrigerator is irreparably broken. You might walk into your kitchen first thing in the morning, step into a freezing puddle of water in your socks, and immediately panic about the exorbitant cost of a brand new appliance replacement. Before you spend a high minimum diagnostic fee just to have a technician walk through your front door and turn a wrench, you need to know that the vast majority of these plumbing and electronic sensor issues are easily fixable DIY projects that require very few specialized tools.
Unlike sealed system cooling failures, which involve dangerous pressurized refrigerant gas and complex copper welding to safely fix, your refrigerator's internal water system is surprisingly straightforward to understand. It utilizes standard quarter inch or five sixteenths PEX water tubing, simple 120 volt electrical solenoid valves, basic mechanical micro switches, and a replaceable carbon water filter. If you possess the basic mechanical skills required to successfully change a bathroom showerhead or install a standard household light switch, you possess the exact skills required to confidently trace, safely diagnose, and effectively repair a refrigerator water leak on your own.
Whether your machine is stubbornly refusing to drop a single ice cube into the bucket, violently overflowing the ice bin and causing a frozen avalanche every time you open the freezer, or mysteriously leaking water deep inside your sealed crisper drawers, this comprehensive Master Hub is your ultimate troubleshooting guide. We will walk you through exactly how the water physically flows from your house pipes into the appliance, how the electronic control board intelligently communicates with the physical valves, and how the mechanical safety sensors operate to prevent catastrophic flooding. Bookmark this page as your reliable reference manual for the lifespan of your appliance. Be sure to follow the detailed cluster links located at the bottom of each section for step by step diagnostic instructions on your specific failure point.
Common Leak Location
Most Likely Cause
Repair Difficulty Level
Under Crisper Drawers
Clogged Defrost Drain Tube
⭐ DIY Friendly
Back of Fridge on Floor
Cracked Valve or Loose Water Line
⭐⭐ Moderate
Inside Freezer Cabin
Blocked Ice Maker Fill Tube
⭐⭐ Moderate
Front of Fridge on Floor
Leaking Dispenser or Condensation
⭐ DIY Friendly
1. Understanding Your Refrigerator Water System
To successfully troubleshoot a severe refrigerator water leak or a broken ice maker without guessing blindly and unnecessarily throwing expensive parts at the problem, you must first deeply understand the physical journey the water takes. Water does not simply magically appear in your door dispenser upon demand. It is actively and precisely managed by a highly specific, sequenced series of electronic valves, plastic tubes, and sensitive sensors that act as an interdependent chain. If one single link in this chain breaks or clogs, the entire system inevitably fails to deliver.
The Primary Water Inlet Valve
The journey always begins at the wall directly behind your fridge. Pressurized water travels from the home plumbing through a flexible supply line into the bottom rear machine compartment. Here, it meets the Primary Water Inlet Valve. This vital component is the main gatekeeper of the entire system. It is an electro mechanical gateway controlled entirely by the refrigerator's main computer control board. Under normal standby conditions, this internal valve remains securely shut tight, firmly holding back your home's water pressure. The valve only opens to allow water flow when it receives a direct 120 volt alternating current electrical signal from the control board.
The Filtration and Distribution Process
When the computer successfully commands the primary valve to open, highly pressurized water flows violently up through plastic tubing into the Water Filter Housing. The carbon filter's job is to remove heavy sediment particles, heavy metals, and municipal chlorine. From the filter housing, the newly cleaned water flows back down into a secondary isolation valve. Depending on which specific electrical coil receives power from the computer, this valve directs the clean water either straight up a long tube on the back wall to feed the ice maker line, or it routes the water through a chilled reservoir tank before ultimately sending it out to your dispenser line.
The Defrost Drain and Drain Pan
Modern refrigerators also generate their own internal water through condensation. Every eight to twelve hours, the appliance actively melts frost off the hidden evaporator coils using a powerful heating element. This melted frost is collected in an aluminum trough and funneled into a hidden PVC defrost drain tube. Gravity pulls the water down this internal tube and safely deposits it into a shallow plastic drain pan located directly underneath the refrigerator. The blazing heat from the nearby compressor naturally evaporates this standing water back into the kitchen air. If this specific drain system clogs, you will immediately experience severe water leaking inside the refrigerator.
The Diagnostic Advantage: Knowing this exact flow path allows you to effectively isolate the problem using pure logic rather than guesswork. For example, if your door water dispenser works perfectly with high pressure but your ice maker is completely dead, you immediately know that the house water supply, the primary inlet valve, and the water filter are all functioning flawlessly. The issue must therefore be isolated strictly to the ice maker's specific secondary valve coil, the water tube leading to the freezer ceiling, or the physical ice maker unit itself.
2. When Your Ice Maker Refuses to Make Ice
An automatic ice maker is absolutely not just a simple plastic tray that fills with water. It is an intricate, highly synchronized mechanical dance involving sensitive temperature sensors, tiny electric harvest motors, internal heating elements to loosen the cubes, and precisely timed water inlet valves. When one single step of this delicate mechanical sequence falls out of rhythm, your ice production completely and abruptly halts, leaving you with warm drinks and a frustrating mystery to solve.
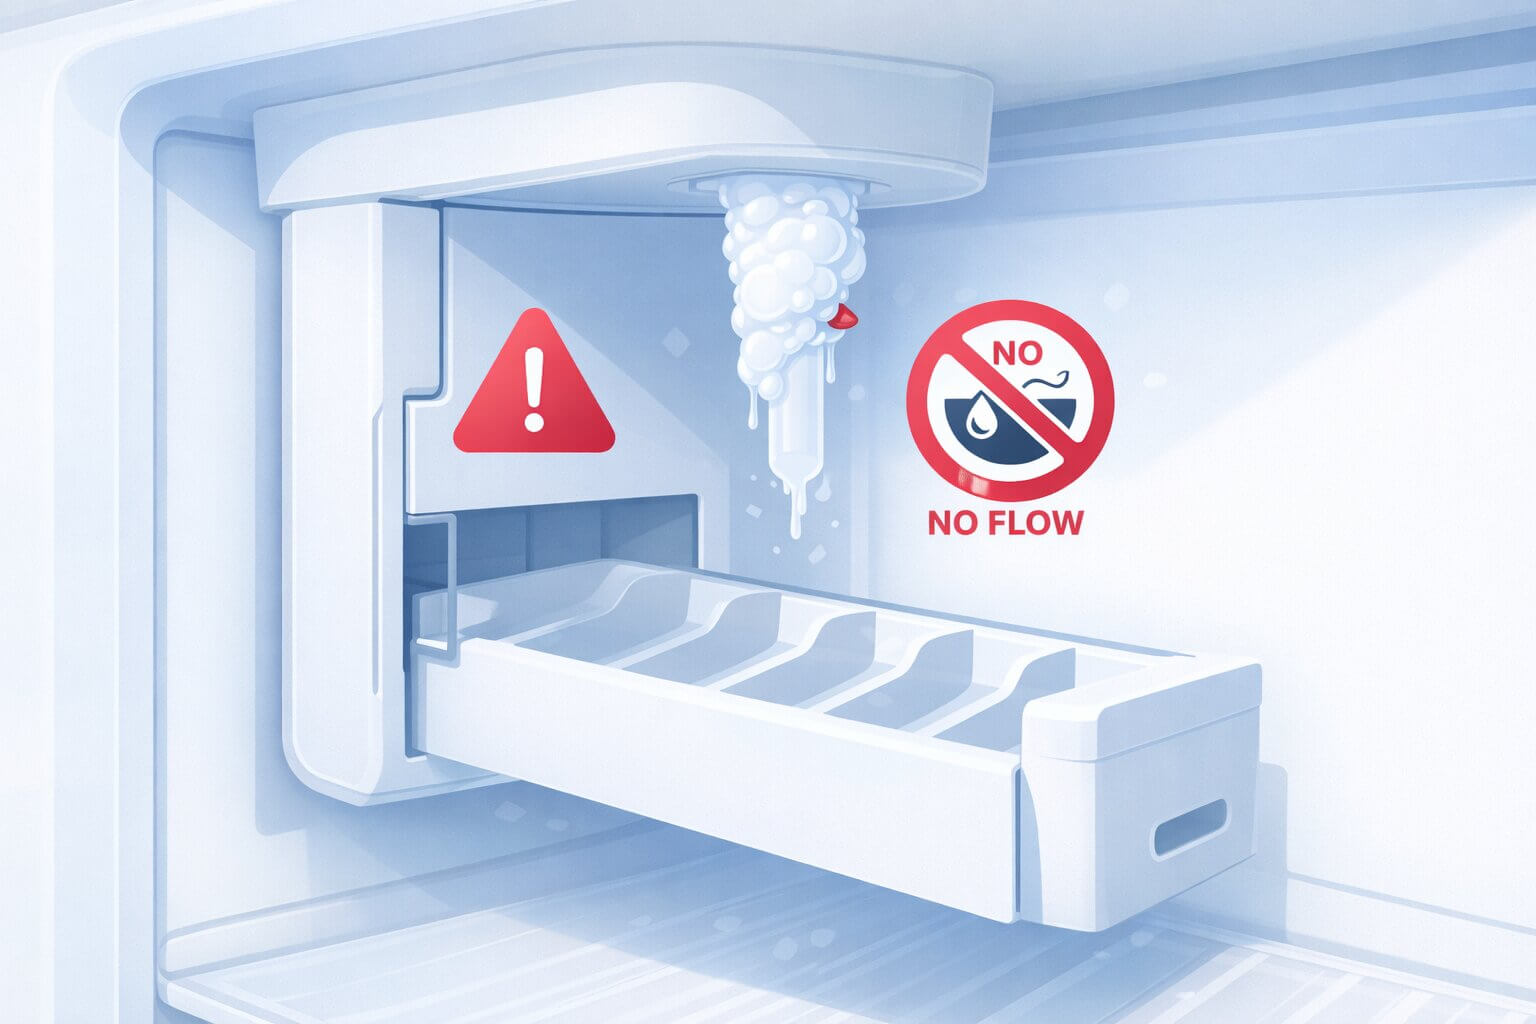
Symptoms and Quick Diagnosis Clues
The primary symptom is obvious. You open your freezer door and find a completely empty bucket despite the unit being turned on at the control panel. The system has either lost its physical water supply entirely, or it is intentionally locking itself out to prevent a massive water leak inside the freezer cabin. Before pulling the appliance apart to check the valves, you must check the ambient temperature of your freezer. If your freezer feels slightly warm, the ice maker computer logic will absolutely refuse to open the water inlet valve. The machine is hard coded to safely lock out if the temperature rises above 15 degrees Fahrenheit. If you are experiencing a completely silent, dead ice maker that is not making ice, your very first step is verifying your freezer is actually reaching zero degrees.
Key Diagnostic Steps for a Dead Ice Maker
Beyond checking the critical temperature lockout threshold, a dead ice maker often points directly to a burned out electrical solenoid coil on the water inlet valve located at the back of the fridge. It could also indicate a jammed mechanical harvest arm preventing the tiny motor from turning, or a severely clogged saddle valve at the wall connection restricting flow. Testing these internal electrical components safely requires basic continuity checks using a standard digital multimeter to ensure voltage is reaching the harness.
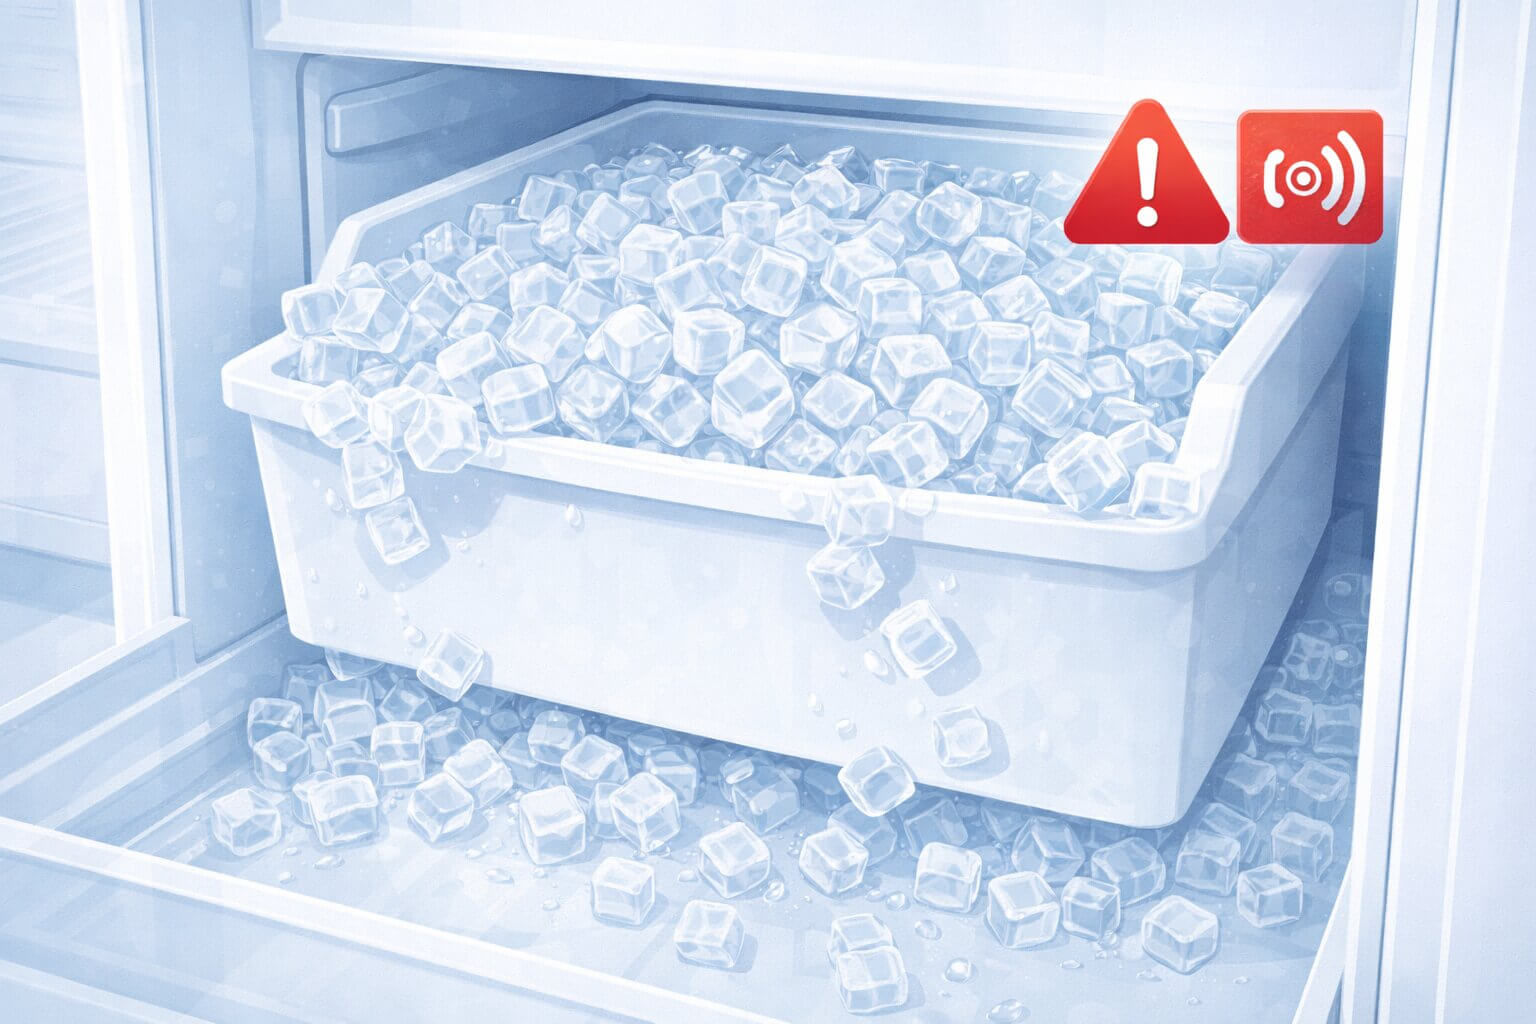
Sometimes the core problem is not a frustrating lack of ice production, but rather an absolute, unmanageable avalanche of it. An overflowing ice maker is a clear sign of a sensor failure. The machine has completely lost its mechanical ability to detect when its primary job is done and simply continues to cycle endlessly.
Symptoms and Quick Diagnosis Clues
The most alarming symptom is finding your internal ice bucket constantly overflowing, uncontrollably spilling hundreds of frozen cubes into the deep rear recesses of the freezer compartment. This excess ice physically blocks the freezer door from closing properly, which in turn melts the ice and creates a massive frozen mess on your kitchen floor. If you find yourself repeatedly cleaning up ice spills and wondering why your ice maker will not stop making ice, your quick diagnosis clue lies in the shut off arm. For mechanical units, reach in and lift the metal bail wire. If it feels completely loose or disconnected from the control head, the internal switch can never be triggered.
Mechanical vs Optical Shut Off Systems
Traditional, highly reliable ice makers use a plastic or metal feeler arm that drops down into the ice bucket. As the bucket slowly fills with ice, the growing pile of cubes physically pushes the wire upward, eventually triggering a hidden micro switch that cuts electrical power. Conversely, modern premium refrigerators use an infrared optical sensor board that shoots an invisible beam of light across the top of the bucket. If the mechanical wire snaps, or if the delicate optical sensor lenses become heavily coated in thick insulating frost, the machine becomes completely blind.
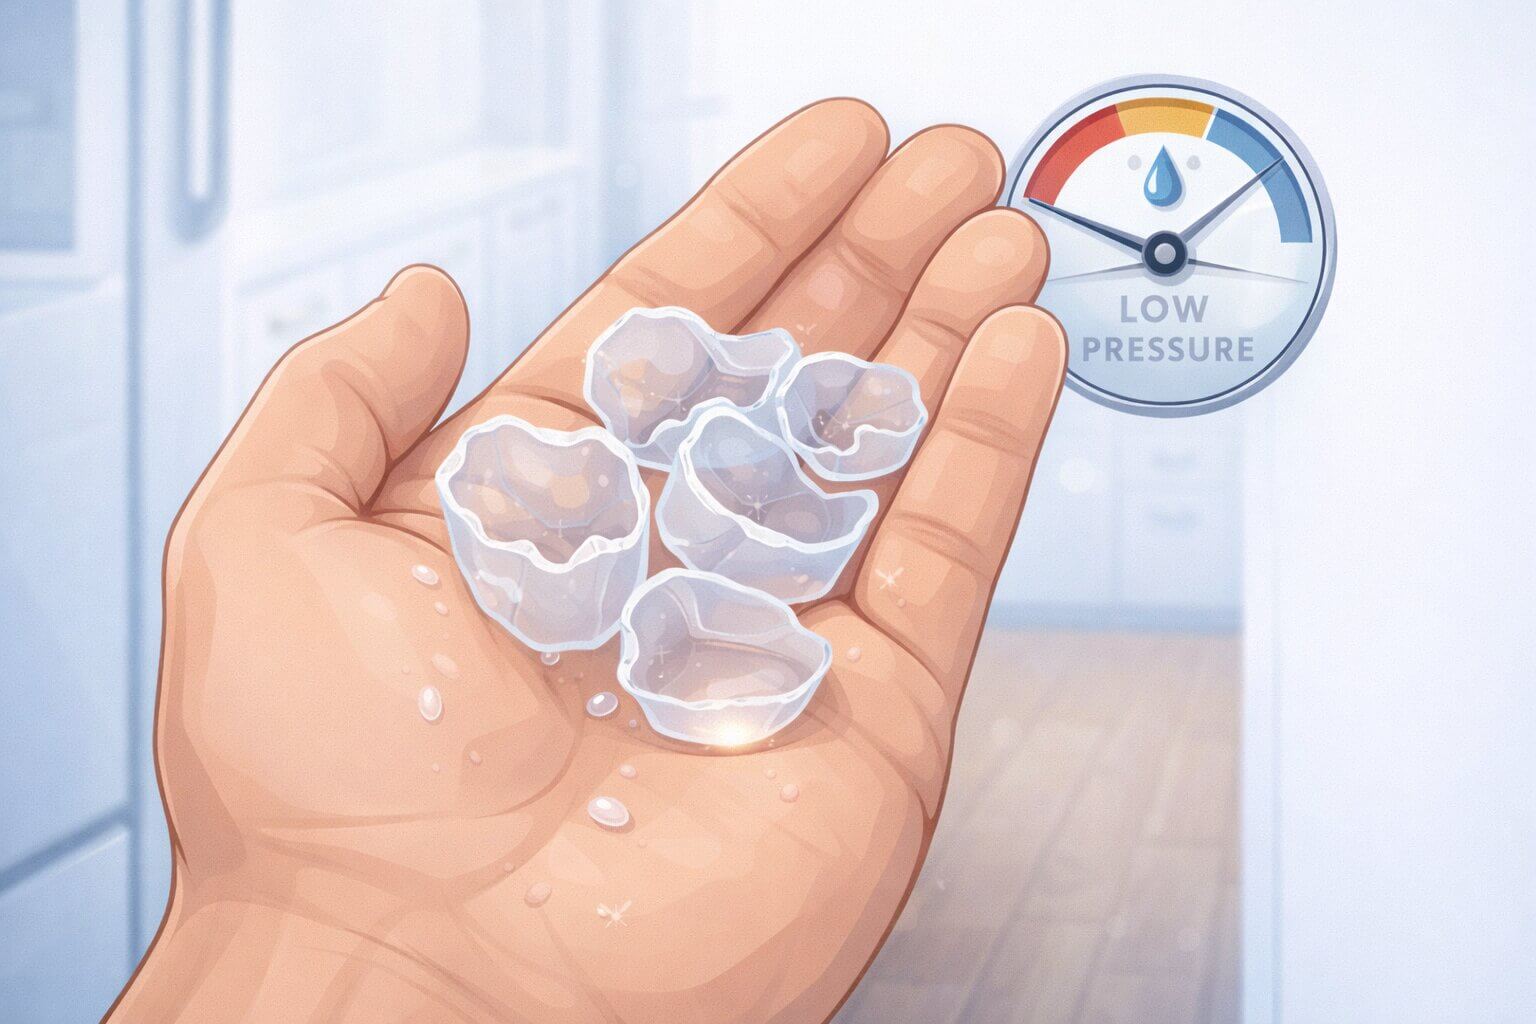
If your machine is actively dropping ice into the bin, but the individual cubes look terrible, you do not actually have a broken ice maker mechanism. You have a severe water pressure problem. This is one of the most misunderstood and incorrectly diagnosed failures in the entire appliance repair industry.
Symptoms and Quick Diagnosis Clues
The visual symptoms are distinct. You will find that the cubes are incredibly tiny, violently shattered into sharp shards, look exactly like hollow eggshells, or are fused together into a giant impenetrable frozen clump in the bucket. When the harvest motor attempts to push hollow cubes out of the mold, the delicate shells shatter instantly, leaving a mess of sharp shards in the bin. If you want to know why your ice maker is making small or hollow ice, the quickest diagnostic clue is to test your door dispenser. Place a measuring cup under the water dispenser and press the paddle. If it takes longer than eight seconds to fill a simple eight ounce cup, your system is heavily restricted and the water pressure is far too low to properly fill the ice mold.
The Precision Timed Fill Mechanism
An automatic ice maker operates on a strict, computerized timed fill protocol. The control board tells the water inlet valve to open for exactly four to seven seconds. The manufacturer assumes your household water pressure is standard. Under perfect pressure conditions, exactly four fluid ounces of water will forcefully pass through the open valve in those seven seconds. If your home's internal water pressure drops significantly due to a severely clogged internal water filter or a calcified saddle valve, only one ounce of water will slowly trickle into the mold during that strict open time window.
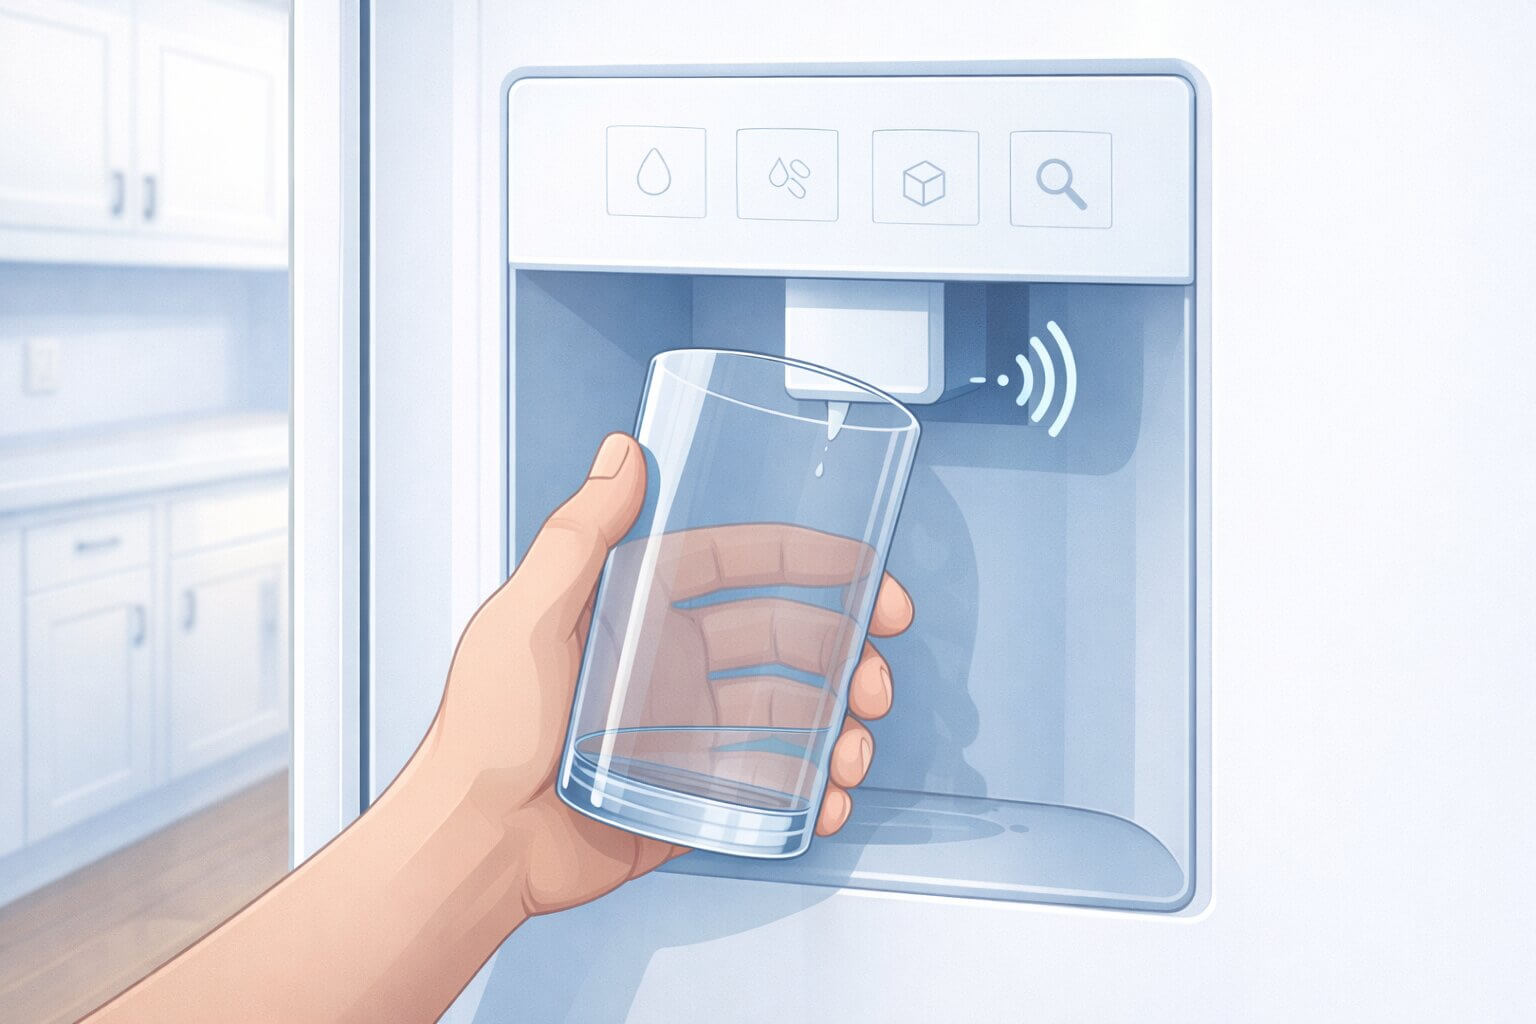
A completely dead water dispenser is highly inconvenient, especially in the heat of summer, but you can rest assured that it is rarely a fatal flaw for the refrigerator's overall cooling system. It is simply an isolated plumbing blockage or a localized electrical failure that can be systematically tracked down and repaired.
Symptoms and Quick Diagnosis Clues
The primary symptom is total failure at the panel. You walk up to your kitchen fridge, press your drinking glass firmly against the door paddle, but absolutely nothing comes out of the dispensing spout. When attempting to figure out why your refrigerator water dispenser is not working, the most crucial diagnostic clue is sound. Put your ear close to the door panel and press the paddle. Do you hear a faint electronic hum or a soft mechanical click from the back of the fridge? If you hear a click, the electrical switch in the door is working perfectly, and the problem is a physical water blockage like a frozen line. If the machine remains completely dead and silent, you have an electrical failure at the door switch.
Tracing the Water Line Junctions
When the dispenser fails completely, you have to play the role of an investigative detective and methodically trace the water line backward. First, evaluate the Dispenser Switch mechanism behind the panel to ensure the delicate switch is not mechanically broken. Second, investigate the highly sensitive electromagnetic coil inside the Water Inlet Valve at the rear to ensure it has not burned out. Third, examine the replaceable Water Filter. If the filter is so incredibly old and thoroughly clogged with hard municipal water sediment that it has essentially become a solid brick of minerals, water simply cannot pass through.
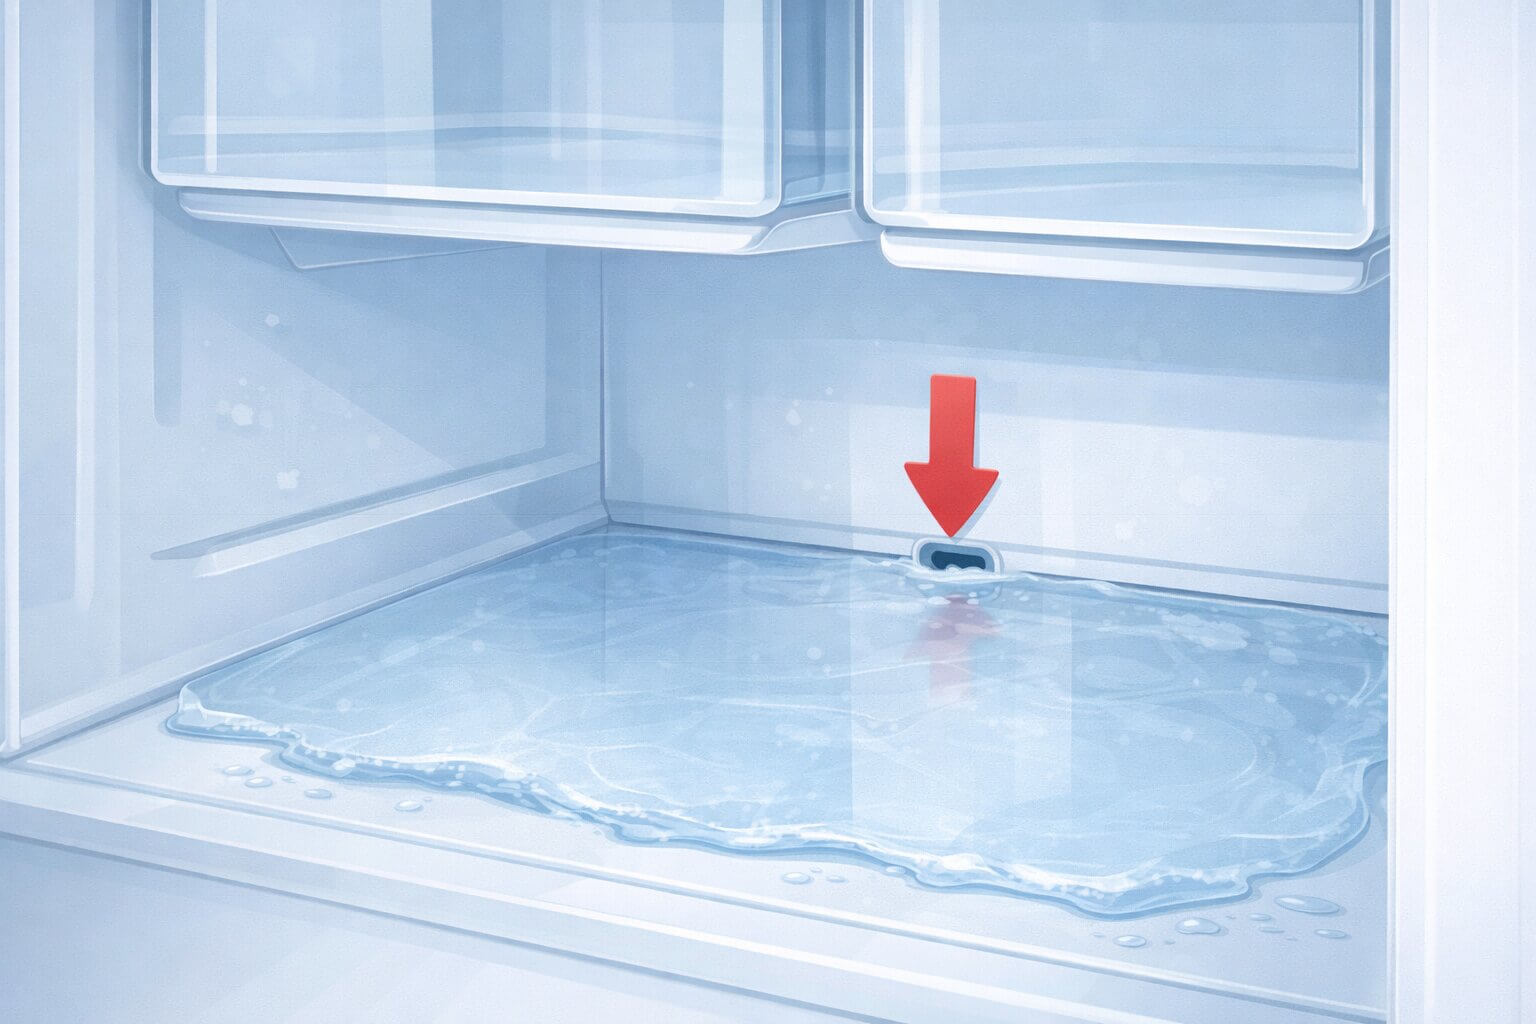
Water pooling exactly where it should not is the most physically destructive and unhygienic problem a refrigerator can cause to both your home and your personal health. However, a leak located directly inside the sealed cabin is fundamentally different from a leak located outside the cabin on the floor. You must correctly identify the specific source of the internal water immediately.
Symptoms and Quick Diagnosis Clues
The symptoms of an internal leak are impossible to ignore. If you open your fresh food doors and find massive, solid sheets of clear ice forming under the bottom crisper drawers, or a literal puddle of liquid water pooling heavily on the interior glass shelves and dripping down the walls, you do not have a broken plumbing pipe. If you are desperately wondering why water is leaking inside your refrigerator, the quickest diagnostic clue is to look at the lower back wall of the fresh food compartment or the floor of the freezer. If you see a solid glacier of ice cascading from a specific vent hole, your defrost drain is severely clogged and overflowing.
The Notorious Defrost Drain Clog
To maintain peak energy efficiency, every eight to twelve hours your refrigerator actively turns on a powerful glass heating element to forcibly melt ambient frost off the freezing aluminum evaporator coils. This newly melted water is supposed to naturally gravity drain down a small, hidden PVC tube. If a stray piece of plastic food packaging or slimy bacterial algae completely blocks this internal tube, the melted frost immediately backs up. It overflows the metal drain trough and pours directly into the cabin, freezing solid over time and trapping your drawers.
The Professional Copper Wire Trick: Often, the small drain tube does not actually clog with food debris, but rather it freezes completely shut due to cold air dropping down. To permanently fix a chronically freezing drain tube, many veteran technicians wrap a small piece of bare copper wire around the hot defrost heater element and carefully dangle it two inches down into the drain hole. When the heater turns on, the highly conductive copper transfers the heat directly into the tube, preventing the water droplets from ever freezing the hole shut again.
If the interior of your fridge is bone dry and your produce crisper drawers are perfectly safe, but there is a growing, highly destructive puddle of water slowly creeping out from underneath the appliance onto your expensive kitchen flooring, you have a true mechanical plumbing emergency. This requires immediate, decisive action to completely shut off the main water supply valve at the wall.
Symptoms and Quick Diagnosis Clues
The primary symptom is finding standing water on your hardwood floor or noticing your baseboards beginning to warp and rot behind the appliance. When attempting to discover why your refrigerator is leaking water on the floor, your first diagnostic clue involves timing. Does the puddle only appear directly after you use the door dispenser, or does it appear randomly in the middle of the night? A puddle that grows when you press the dispenser indicates a cracked water line traveling to the door. A puddle that appears randomly usually points to a cracked defrost drain pan overflowing after a heating cycle.
Locating Rear Compartment Leaks
External floor leaks almost always originate entirely in the rear machine compartment. First, thoroughly inspect the plastic defrost drain pan sitting next to the hot compressor. Over years of enduring high heat, the plastic becomes incredibly brittle and cracks. Second, carefully check for a loose compression nut on the primary water supply line caused by years of intense compressor vibration. Third, look closely for a cracked plastic water inlet valve housing that forcefully sprays a fine, invisible mist of water every single time the ice maker asks for a refill cycle.
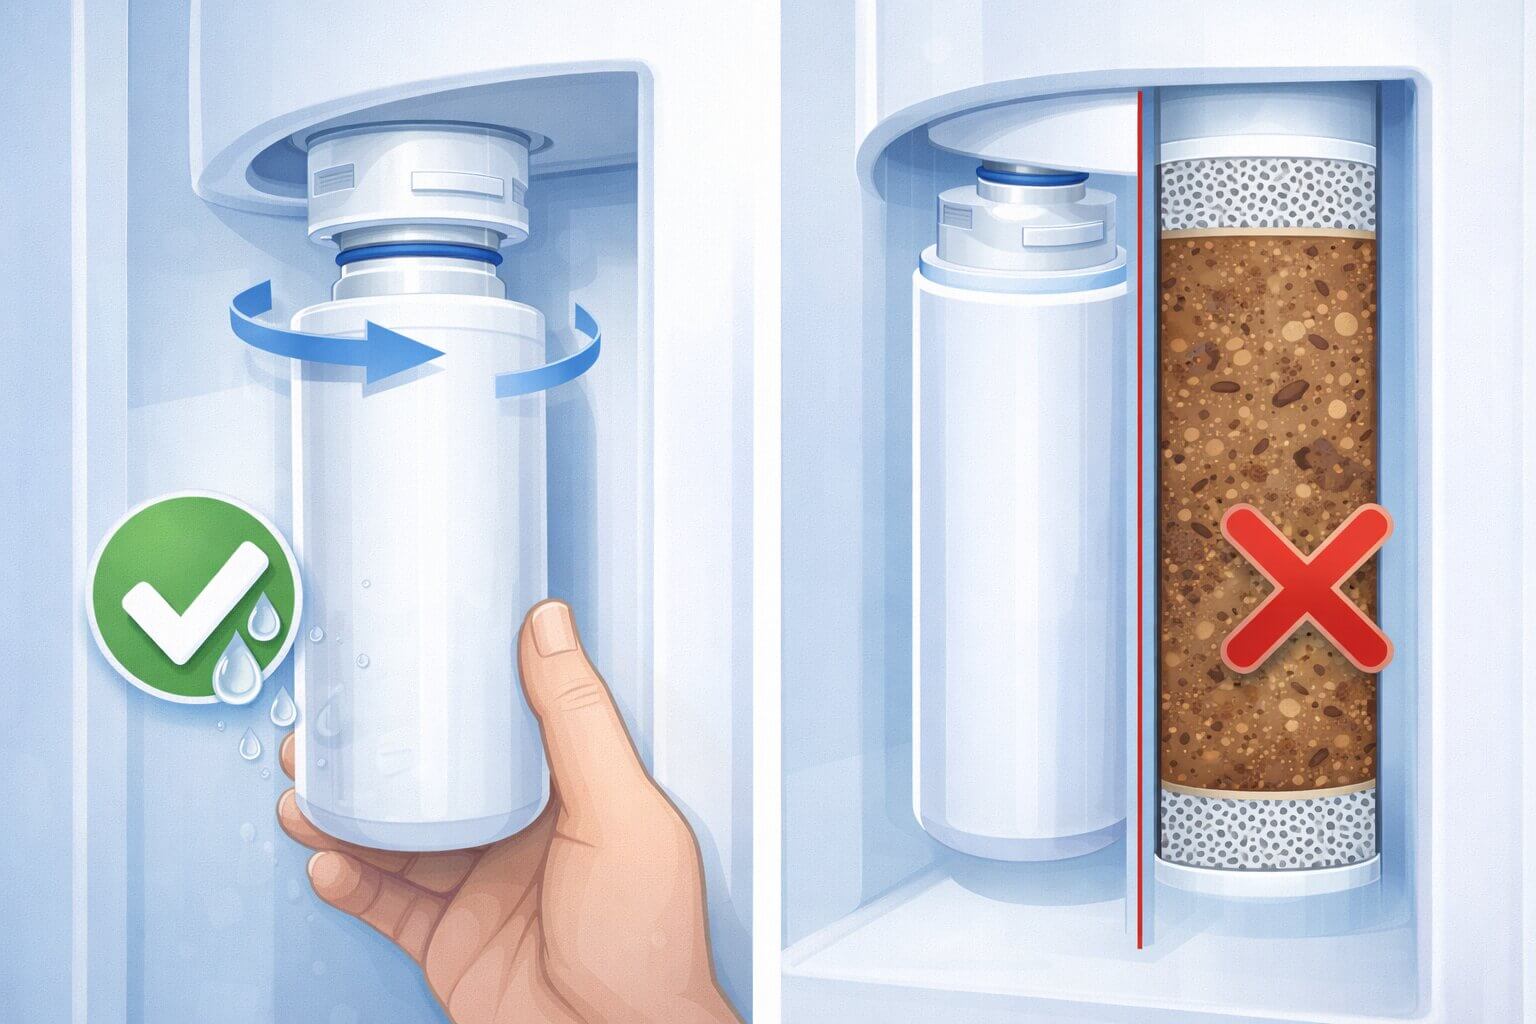
Leaving an old, heavily clogged filter in place will drastically reduce overall water pressure within the entire plumbing system. This severe restriction directly leads to the creation of hollow ice cubes that shatter and a frustratingly slow water dispenser. Major appliance manufacturers universally recommend complete replacement every six months to maintain optimal flow performance and highly sanitary drinking conditions for your family.
How often should I realistically change my refrigerator water filter?
Refrigerator manufacturers universally recommend replacing your internal water filter every six months to maintain sanitary drinking conditions. However, this is just a generalized baseline. If your home relies heavily on hard well water with high sediment and heavy minerals, or if you have a large family of athletes that uses the water dispenser constantly throughout the day, you may need to proactively replace it every three to four months. Leaving an old, heavily clogged filter in place will drastically reduce the overall system water pressure. This severe pressure drop directly leads to the production of small, hollow ice cubes that shatter in the bin, and causes a frustratingly slow, trickling water dispenser. Furthermore, incredibly old filters can eventually harbor dangerous bacteria, completely defeating their original safety purpose.
Can a clogged or old water filter cause my refrigerator to actively leak?
No, an old or heavily clogged water filter will not inherently cause a leak to occur. Because it operates within a sealed housing, a clogged filter will simply act as a solid wall, heavily restricting the water flow until the dispenser stops working entirely. However, if a brand new filter is installed improperly, slightly cross-threaded into the plastic housing, pushed in without fully locking into the manifold, or if it is completely missing its vital internal rubber O-rings from a factory defect, highly pressurized water will violently spray out and leak aggressively from the filter housing inside the fresh food compartment the exact moment the system asks for water. Always ensure your new filter clicks firmly into place and deliberately run two gallons of water through the system to purge trapped air after every installation.
Why is there water under my refrigerator?
Water pooling directly under your refrigerator on the kitchen floor is typically caused by a compromised component in the rear machine compartment. The most common culprit is a cracked plastic defrost drain pan located near the hot compressor. Other frequent causes include a loose compression nut on the primary copper water supply line, a fractured plastic housing on the electronic water inlet valve, or severe condensation aggressively dripping down the front of the doors due to completely failing magnetic rubber door gaskets.
Is a leaking refrigerator dangerous to my home?
Yes, an actively leaking refrigerator can be highly dangerous and deeply destructive. Beyond the obvious physical slip and fall hazard created on wet kitchen tile, water pooling near the high voltage compressor and lower electronic control boards poses a severe electrical shock and potential fire risk. Furthermore, hidden, slow drip leaks will quickly rot your wooden floorboards, warp expensive baseboards, and heavily promote the rapid growth of toxic black mold directly behind your kitchen cabinets, leading to thousands of dollars in remediation costs.
How much does it typically cost to fix a refrigerator water leak?
If you confidently diagnose and repair the leak yourself using a guide, the cost is incredibly minimal. Clearing a severely clogged defrost drain with hot water is completely free, and replacing a cracked electronic water inlet valve usually costs between thirty and sixty dollars for the brand new OEM part online. However, if you choose to hire a professional, certified appliance technician, expect to pay a minimum home visit diagnostic fee of one hundred to one hundred fifty dollars, plus the retail cost of parts and an hourly labor rate. This brings the total professional repair bill to anywhere from one hundred fifty to over three hundred dollars for a relatively simple plumbing fix.
Why do my newly made ice cubes taste bad or smell like garlic?
Ice acts exactly like a highly absorbent sponge for ambient airborne odors. Because the ice maker is constantly exposed to the chilled air circulating dynamically between the fresh food fridge and the freezer compartment, any strong smell originating in the fridge will eventually migrate directly to the freezer. If your ice tastes bad, it is usually because the cubes have been sitting stagnant in the bucket for several weeks and have successfully absorbed the volatile odors of uncovered, pungent food in your fridge like chopped onions, raw garlic, or leftover takeout meals. To permanently fix this terrible taste, dump the entire bucket of old ice into the kitchen sink immediately. Wash the plastic bin thoroughly with warm soapy water to remove invisible residue. Then, place a fresh open box of baking soda in the main fridge compartment to actively absorb future odors, and allow the machine to drop a fresh, clean batch of ice overnight.
Where is the main water shut off valve for my refrigerator located?
If your fridge is actively leaking rapidly from the back panel, you must physically shut off the main water supply immediately to prevent catastrophic property damage to your drywall and hardwood flooring. The shut off valve is most usually located protruding slightly from the wall directly behind the refrigerator itself, often housed safely inside a recessed plastic plumbing box. If it is not visibly located behind the appliance, the installation plumber likely installed a saddle valve or a T valve tapped directly into the cold water pipe underneath your main kitchen sink. In older homes, you may have to actually go down into the basement or the crawlspace located directly beneath the kitchen floor joists to locate and forcefully turn off the primary copper saddle valve.
About the Author: Alex Bennett
Alex Bennett is an appliance repair specialist with over 10 years of hands-on experience diagnosing and repairing residential refrigerator cooling systems. He has worked extensively with compressor failures, evaporator fan motors, thermostat malfunctions, airflow restrictions, and sealed system troubleshooting.
Through Fridge Mentor, Alex helps homeowners understand refrigerator temperature problems, troubleshoot safely, and determine when professional repair is necessary. His goal is to provide clear, practical guidance backed by real-world repair experience.